There’s only one reason you’re reading this right now: you’re not getting good enough Wi-Fi in at least one place in your home. Chances are you have just one router providing a Wi-Fi signal, and it’s almost certainly not in the very centre of your home.
That means the signal can’t adequately reach the rooms furthest away, which means you (or your kids) can’t stream videos, make Zoom calls or do whatever it is you want to do.
And, naturally, you want to know how to solve this annoying problem.
The good news is that there are a variety of options at your disposal, and the best solution will be down to how much money you want to throw at the problem.
These are the six ways you can extend and boost Wi-Fi:
- Move your existing router to a better position (possibly for free)
- Buy a new, more powerful router
- Buy a mesh Wi-Fi kit (recommended option for most people)
- Buy a Wi-Fi extender / booster
- Buy a powerline kit with Wi-Fi (good for getting Wi-Fi in a specific room)
- Switch to 2.4GHz (free, but may not be possible)
Now let’s look in more detail at each of those options.
1. Reposition your router
If your router is downstairs and you have a weak connection upstairs, take a look at the placement of your wireless router. Make sure it’s out in the open and not tucked away behind the TV, in a cupboard or down on the floor.
If you can, put it high up in the room because Wi-Fi signals have an easier time traveling through open space. And if possible, move it into the centre of the home. You might need to buy a longer wire.
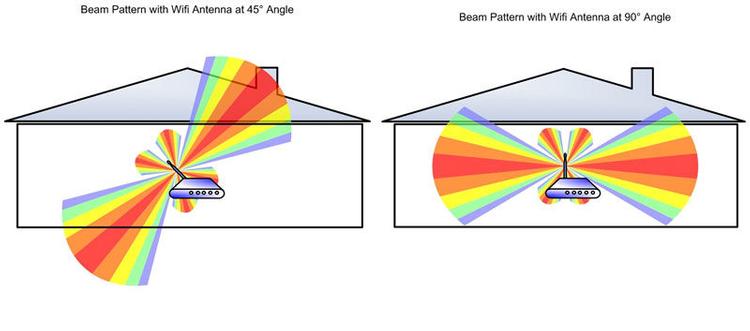
If your router has adjustable aerials, try moving them. The Wi-Fi signal beams out from the sides of the antenna, and up (perpendicular to the router) is usually best so the signal doesn’t shoot into the ground or ceiling.
2. Upgrade to a better router
If the weak or slow Wi-Fi continues despite moving the router, consider upgrading it to a better one.
The oldest to newest Wi-Fi standard are: 802.11b, 802.11g (Wi-Fi 3), 802.11n (Wi-Fi 4), 802.11ac (Wi-Fi 5), 802.11ax (Wi-Fi 6, Wi-Fi 6E), 802.11be (Wi-Fi 7).
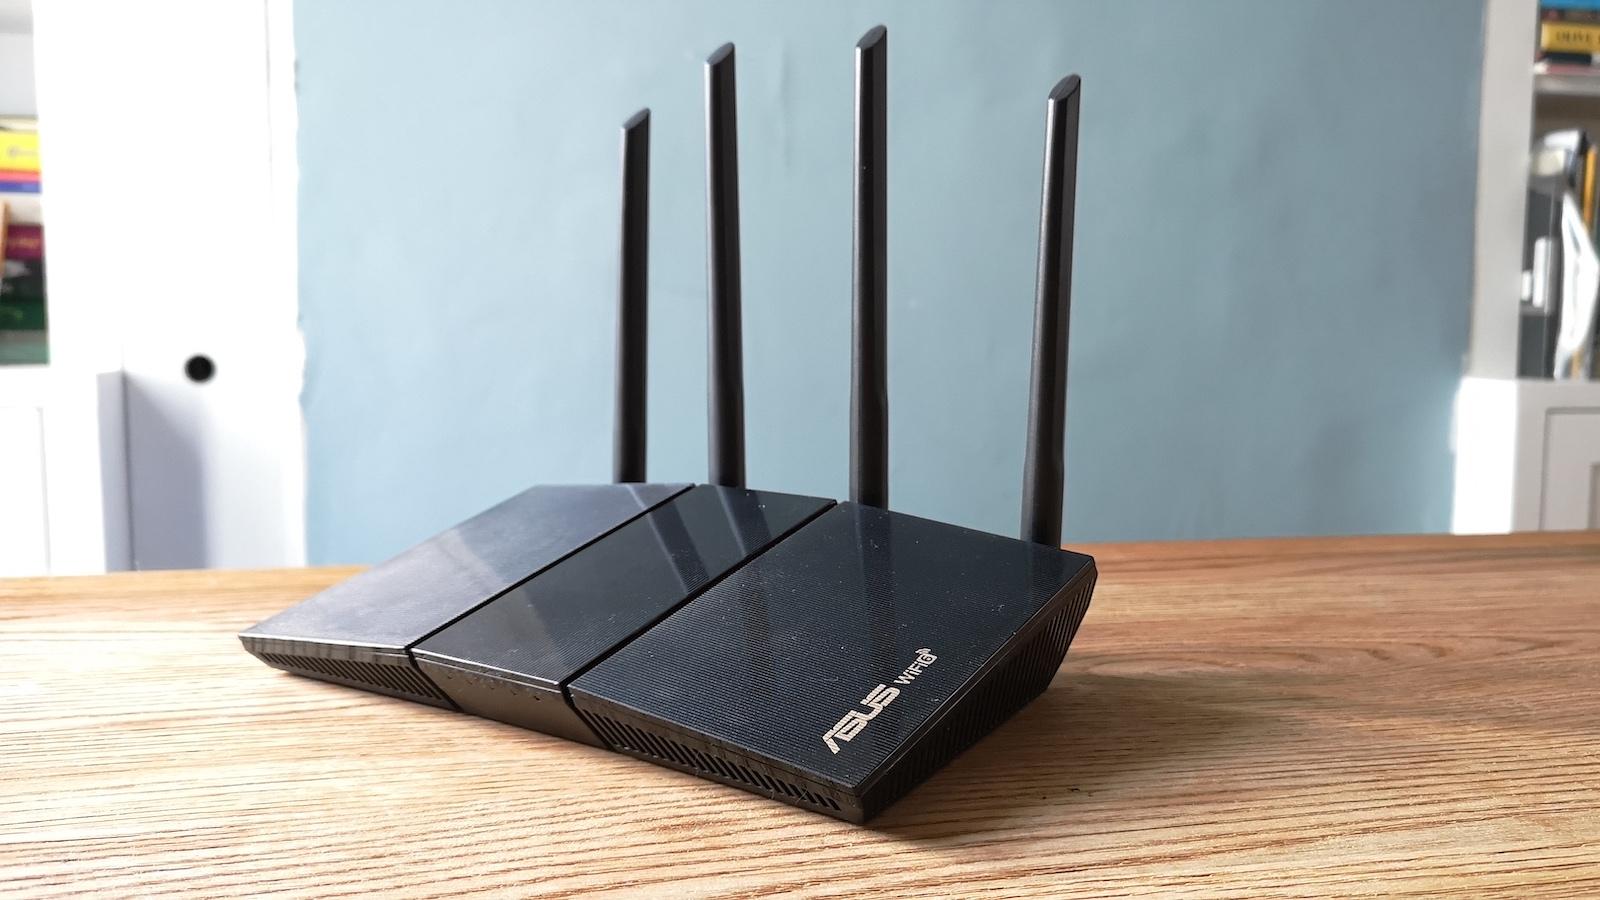
IDG/Foundry
Although it’s over-simplifying things, the newer standards offer longer ranges and faster speeds than older ones.
Plus, newer routers can handle more devices at once, and we’re all putting more and more Wi-Fi gadgets in our homes – older routers simply can’t cope.
Newer Wi-Fi standards also have better features which help to improve things like coverage and reliability, while Wi-Fi 6E and Wi-Fi 7 allow devices to use a third band, 6GHz.
The problem is that your devices – phones, laptops etc – need to also have Wi-Fi 6E or Wi-Fi 7, otherwise they can’t use that new band.
But rather than buy a new laptop or PC you can buy a USB Wi-Fi adapter that plugs into a free USB port. That’s not an option for your phone, smart speaker or security camera, though.
So, buying the very latest, most expensive router isn’t necessarily the answer. Right now, a Wi-Fi 6 router is the best-value option for most people. However, why not call your ISP and see if it will send you an updated router? If you’ve been a customer for a while you might not have to pay anything for it, but you might be asked to sign up for a new contract.
3. Get a Mesh Wi-Fi kit
The problem with having a single router is that you’re often limited on where you can put it. If it’s still going to sit in one corner of your home, you may still end up with dead zones.
That’s where mesh Wi-Fi comes in, and it’s why we highly recommend this solution over buying a standalone router.
A mesh network is simply two or more routers that work together to provide much wider Wi-Fi coverage than a single router can ever deliver.
You attach one of the routers from a mesh Wi-Fi kit to a spare Ethernet port on your existing router, and the system creates a new Wi-Fi network to which all your Wi-Fi gadgets connect.
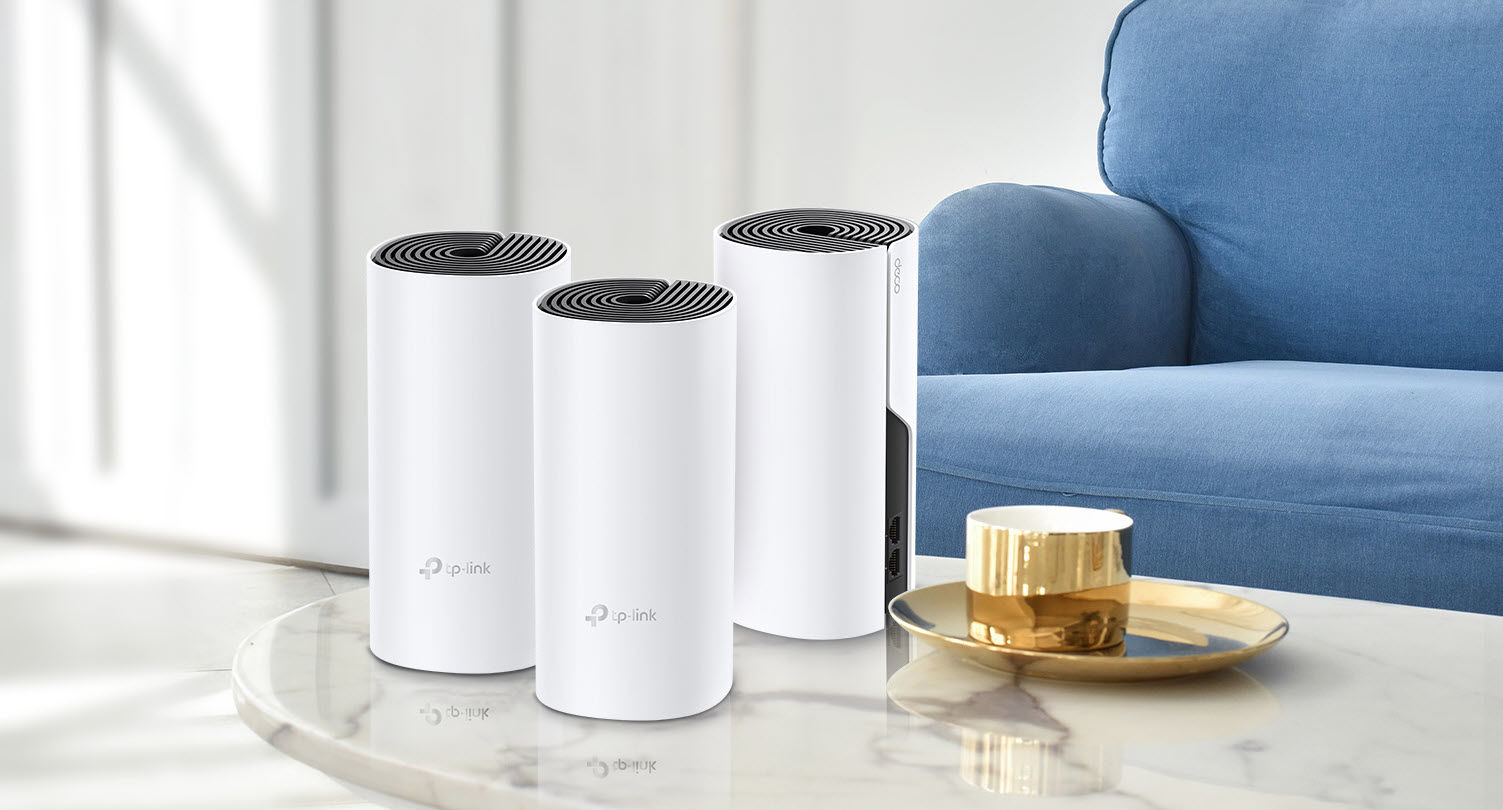
You then place the second (and third if required) mesh device somewhere else in your house—usually on another floor, or on the other side of your home. The devices all talk to each other and create a single super Wi-Fi network that’s both strong and fast and can usually extend into your garden, if you have one.
You can read more about the differences between the cheapest and most expensive systems in our roundup of the best Mesh Wi-Fi systems, but our current top pick, which combines Wi-Fi and Powerline networking for great coverage and speed at a reasonable price is the TP-Link Deco P9.
4. Use Powerline adapters
Powerline adapters are slowly being phased out and replaced by mesh Wi-Fi, but there is still a place for them. The Deco P9 kit just mentioned uses that technology as well as Wi-Fi. But traditional Powerline adapters can be the cheapest solution to extending Wi-Fi if you need to get a signal to one particular room, or even a separate building such as a garage.
Simply plug one powerline adapter into a power socket near your router and also connect it to your router using an Ethernet cable (which is usually supplied in the box).
Then plug a second powerline adapter (which must have built-in Wi-Fi) into a power socket in the other room such as a loft room, garage or other outbuilding. As long as any separate building gets its power from the main house where the router is located, it should work.
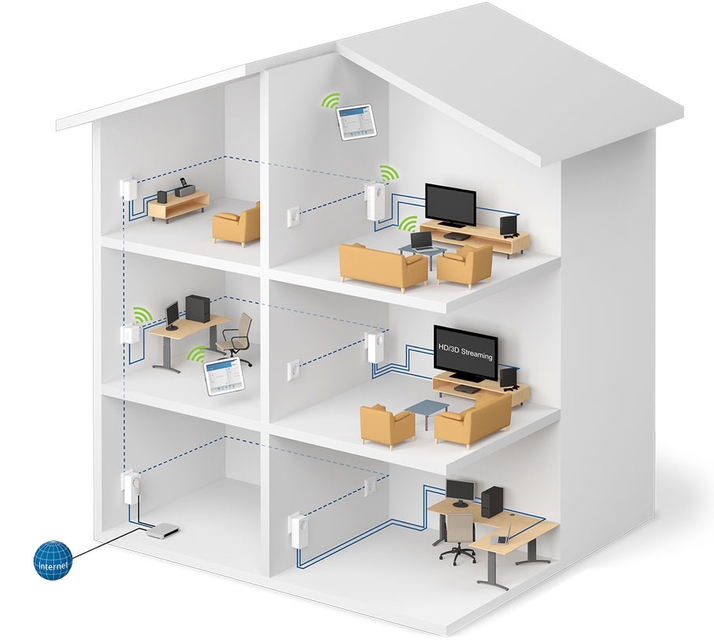
In most cases powerline adapters create a new Wi-Fi hotspot—they do not boost the wireless network that already exists like a Wi-Fi extender. Powerline kits with Wi-Fi cost more than extenders but are much more versatile and can provide faster speeds.
Read our roundup of the best Powerline adapters for recommendations of what to buy.
5. Buy a wireless booster
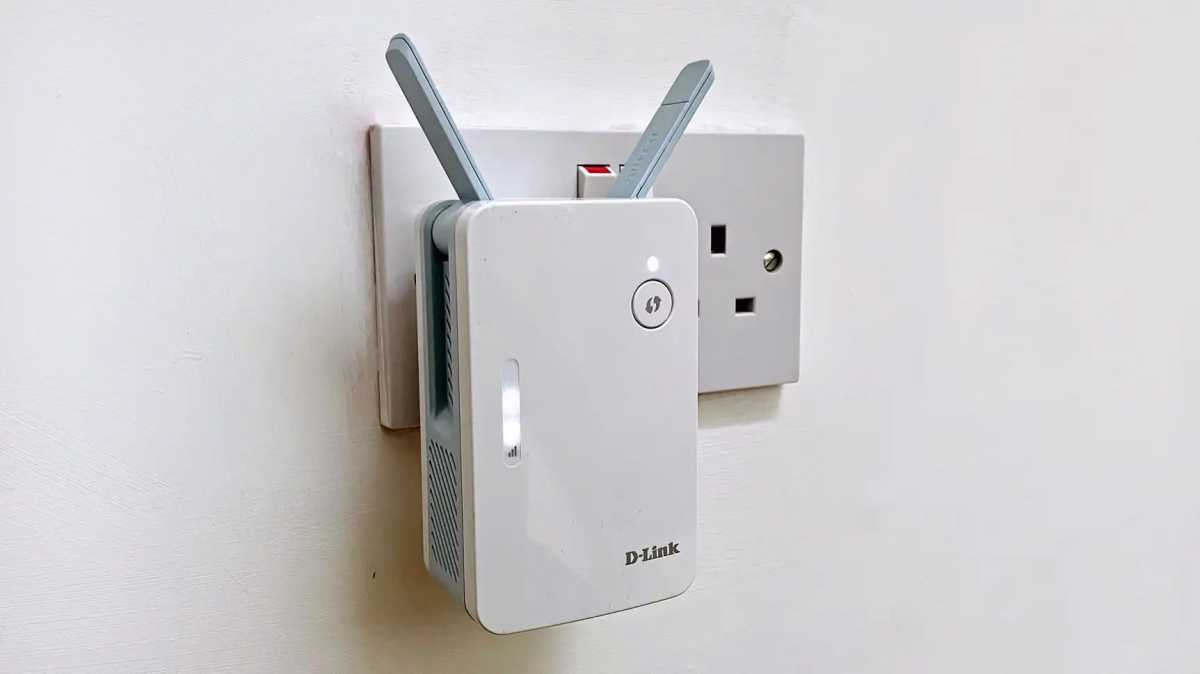
Wi-Fi extenders—also called Wi-Fi repeaters or boosters—increase range by ‘capturing’ the wireless signal from your router and then rebroadcasting it. Some people rightly wonder whether they really work: they do, but they’re not the best option if you need very fast Wi-Fi speeds.
They are cheap, though, and easy to install. We’ve tested a selection of them and you’ll find our recommendations of the best Wi-Fi extenders.
Jim Martin / Foundry
You can use a Wi-Fi repeater to boost the signal from a router on a different floor of a house or on the opposite side of a building.
A repeater uses half its internal antennae to receive a wireless signal and the other half to transmit a new signal—effectively halving the potential speed of the original Wi-Fi signal.
This shouldn’t be that noticeable for light web browsing, email, etc, but can be felt when moving large files around the network such as high-definition video. That’s why we prefer Powerline for the more demanding tasks. But you might find it’s still perfectly good for streaming Netflix or YouTube.
A Wi-Fi extender needs to be placed in a central location, not too far away from the main router, as shown in the image above. If you put the repeater at the far edge of your main network hoping to strengthen the signal you will reduce the speed of your connection to the rest of the network and to the internet.
Remember that the extender is just boosting the signal. If it’s placed in a spot where Wi-Fi is already weak then it will merely push around that weak signal. Place it in an area with better Wi-Fi and the signal it pushes out will be stronger, too.
The ideal location for a range extender is half way between your main router and the intended wireless devices – in an open corridor or spacious room rather than a crowded space. It should be away from interfering devices such as cordless phones, Bluetooth gadgets and microwave ovens.
6. Use 2.4GHz instead of 5GHz Wi-Fi
Wi-Fi can use one of three frequency bands: 2.4GHz, 5GHz or 6GHz. Many people think higher is better because it offers faster speeds.
However, the higher the frequency the shorter the range. 5GHz and 6GHz signals have a tough time getting through walls, ceilings, desks, and, yes, people.
2.4GHz, on the other hand is better at delivering a signal over a greater distance, at slower speeds. That’s why you might be able to get better range from your router by forcing your phone or laptop to connect to your router’s 2.4GHz network. Many routers combine the two frequencies into one network name. That’s done for convenience, but it means you can’t choose which network to connect to.
If your router is like this, log in to the settings web page and look for a Wi-Fi menu where you can split the two frequencies into two separate network names.
It’s worth bearing in mind that 2.4GHz devices face a battle because lots of other things also use this frequency including microwaves, baby monitors, Bluetooth and more.
These can cause interference, which reduced the less speed and range a Wi-Fi signal has. The greater range you want, the less speed you can have; the greater speed you want, the more you have to mitigate interference and work closer to an access point.
So your mileage may vary, but it is well worth understanding the difference between Wi-Fi bands, as you can use these to your advantage.
And the latest, but still expensive, Wi-Fi 6E and Wi-Fi 7 routers offer a third band: 6Hz, which offers less congestion and faster speeds still. But unless you have various devices that also have those standards built-in, there’s not a lot of point spending the money.
